This one needs a little setup, since it’s about nicotine pouches and 3D printing. I don’t have any data to know how much of an overlap there is between the two interests.
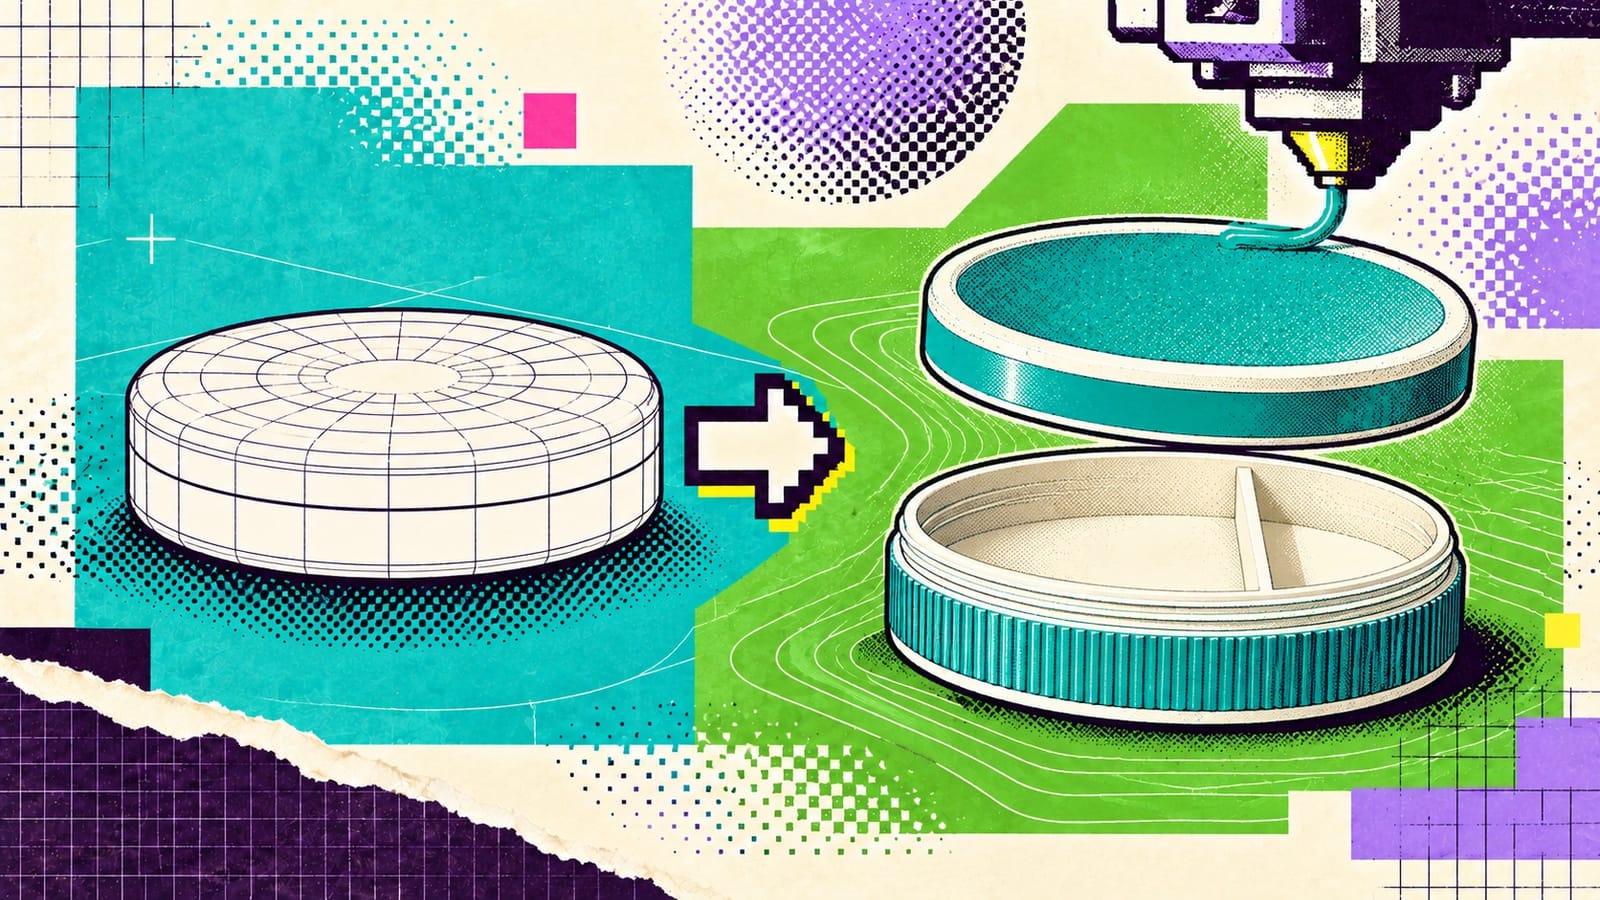
Zyn is a brand of nicotine pouches, the little white ones you tuck under your lip. They come in a small round plastic can. The threaded Zyn container is my printed version of that can. It’s the same diameter and depth as the real one, so it fits anywhere the real one fits, but the lid screws on, and the inside is split: two-thirds for fresh pouches, one-third for used ones or a second flavor. Two parts, a base and a lid. No glue, no magnets.
It was the first Zyn container I published, and one of the first things I ever modeled. I got into Game Boy modding around 2022 and 3D printing came right after, so I hadn’t been drawing my own stuff for very long. I made it because I thought it’d be neat to have a styled one, and a place to keep your discards. I go through a lot, so it’s not always convenient to find a trash can.
The outside of it has a ribbed grip texture. How it got there makes more sense if you know how a print actually happens.
Shape and settings
You draw the thing in a 3D modeling app, which people call CAD. I use Shapr3D. Then you export the shape, usually as an STL file, which is just the outside surface of the object described as a mesh of tiny triangles. It doesn’t know anything about how to print it, it’s just the shape.
That file goes into a slicer, which is a program that cuts the model into thin horizontal layers and works out where the nozzle goes on every one of them, and how much melted plastic comes out along the way. It’s where you pick everything: layer height, how many walls, how much infill. Infill is what’s inside a part. Most prints aren’t solid, they’re a couple of outer walls with a sparse pattern filling the middle so you’re not burning plastic on stuff nobody sees. This can is two walls and 15% infill, which is pretty normal. It’s a lot of knobs for a plastic can, but that’s how it goes.
Save all those choices and you’ve got a print profile. MakerWorld is the model-sharing site run by Bambu Lab, the printer company, and it lets you upload your profile right next to the files, so somebody else can hit print and get the settings you used.
And those settings can change what the outside looks like, since the slicer decides how every line of plastic goes down.
The test print
I modeled a smooth wall. The test print had ribs on it. I just remember it coming out, seeing the ribs on the can, wondering what might have gone wrong, and immediately printing a second one just to see. When the second one came out just as good, with the ribs, and the ribs actually made handling the can easier and just kind of looked cool, I was like, fuck it, okay, let’s publish it.
Months later, somebody in the comments asked how I did it.
I didn’t have an answer, just like at the beginning. So I decided I should investigate and at least try to give him an answer. I did some Googling, asked ChatGPT what it thought. It didn’t really give me much. Eventually, the best I could conclude was the difference in infill gap settings between a virgin empty project and this one. Alternatively, I figured maybe I had hit those settings by accident somehow, or maybe those were settings for some other print project that I had opened, and for some reason I’d deleted the model out and dragged mine in instead of opening a new project. I don’t know.
But looking into it again now, it clearly wasn’t the infill gap. My model predates that feature in the Bambu slicer, so that couldn’t be the issue. And I just confidently explained the wrong solution to the guy. I’ve never followed up. I don’t think I ever will. Sorry, guy.
The ribs only show up on the can’s blue band. I say blue band. It could really be any color, but for all intents and purposes, we’ll call it blue. It’s blue in the photo. In my model, that band is technically its own part. It’s done that way because at the time, I didn’t really understand how to color models well, either in the Bambu slicer or even in Shapr3D. I was still figuring things out very much along the way. Before that, the only 3D experience I’d had was working in… what was it called? LightWave? Way back in 2009. And then Tinkercad’s 3D modeler. So I was learning as I was going. And now, writing later, I’m not certain why I did it this way, other than I thought this was the way I had to do it.
That band is a shell about a tenth of a millimeter thick, thinner than a single line of plastic, and it’s meshed coarsely: 132 flat faces, evenly spaced, each about 1.7 millimeters wide. The can underneath has about 316. The faces are too shallow to see on their own. So my best guess is the slicer is dealing with a paper-thin colored shell, with 132 evenly spaced corners, wrapped around a finely meshed can, and it leaves a mark at every corner. And that’s your ribs. It also fits the guy’s comment. He tried to add the ribs to the lid, and they disappeared from the can. I haven’t gone back to prove this yet. It sounds right. And frankly, I just like the ribs, so I don’t know if I even want to fix it.
If this is the case, it looks like this interesting feature turns out to be the result of my bumbling inexperience with the CAD software. That’s strangely, embarrassingly flattering. Or maybe not flattering, but cool and embarrassing at the same time.
Printing one
It’s printed in PLA, one of the standard printing plastics, at 0.16 mm layers, and takes about three and a half hours. No supports, either, so the slicer doesn’t have to build any throwaway scaffolding under overhangs that you’d snap off after. The threads are printed too, so they’re tight for the first few opens. Give it some turns and a rinse and they loosen up.
People have done it in PETG, including clear PETG with a colored lid, and the two-tone ones look good.
What’s stuck with me from the comments is how well received it is. As of September 8 it had a 4.9 from 51 ratings, with 95 comments, and 490 people had saved it. I’ll take it.
Somebody printed a set “for the boys at my fire station” and said they were “so stoked about them.” I replied, “Hell yeah, dude! thanks!” Somebody else wanted to put their sons’ softball team logo and jersey numbers on them. My listing even says I don’t mind people “printing out a bunch with your community sports team/job crew/etc logo on it.” The license is non-commercial, and I don’t want people selling them on Etsy as their own, but that’s a whole different thing.
I just like the overall idea that these were being printed to hand out and stuff. Like, that guys like these so much they wanted to put a logo for whatever organization they were with and print out a bunch and hand them out, you know? I just thought that was cool. I feel like that’s kind of what this stuff is supposed to be all about.
For me, I make stuff. I share it. I share it because I want people to use it. I like the idea of someone having printed this thing, being stoked, and then running to someone else and saying, look what I just printed. That’s cool to me, and so is the feedback, even the no-comment five stars. I won’t lie, seeing those ratings is nice, and it gives me something I can take pride in and show someone. It’s like, hey, look at this. How many stars? This many downloads. But, and this maybe sounds corny and performative, that doesn’t actually beat the real feeling of satisfaction and pride that comes over you when you actually get that feedback from someone. Makes me want to keep going. Makes me want to make more. Makes me want to figure out how I can improve things.
I think a lot of people with creative streaks in them do it because they just have to, right? I think there’s this perception that creative people do it because they crave the attention and validation, and there’s truth to that, sure. But it’s not always about that. Sometimes it’s a need. And that validation can come in lots of forms. Big and small. Obvious and subtle. For me, it’s a comment that says, hey man, all the boys loved this. And it feels good to have made something that got other people thinking how they could make it their own.